- Step 1 – Connect with Stripe
- Step 2 – Customize account
- Step 3 – Setting up Taxes
- Step 4 – Sending Invoices
Stripe is a leading online payment service provider for businesses. Fitcrea’s integration with Stripe enables you to sell your courses through your website, accept payments immediately and have the users automatically added to the courses after purchase.
Step 1 – Connect with Stripe
To set up your Stripe account go to Dashboard > Settings > General > Payments.
Click on Connect with Stripe button. This will take you to Stripe. If you don’t already have a Stripe account you can create one during the setup. If you already have a Stripe account you will need the login information for it.

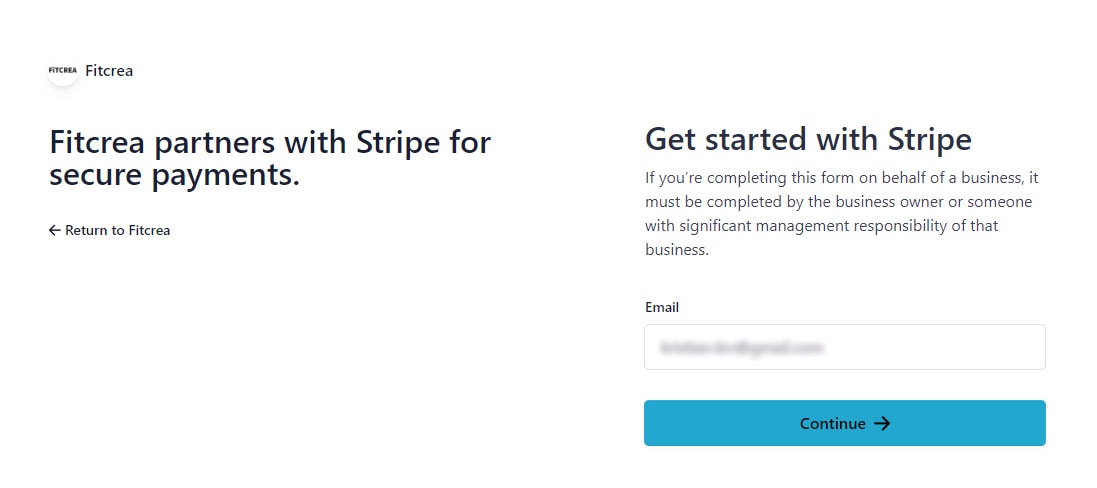
Fill out the email and password for your Stripe account.
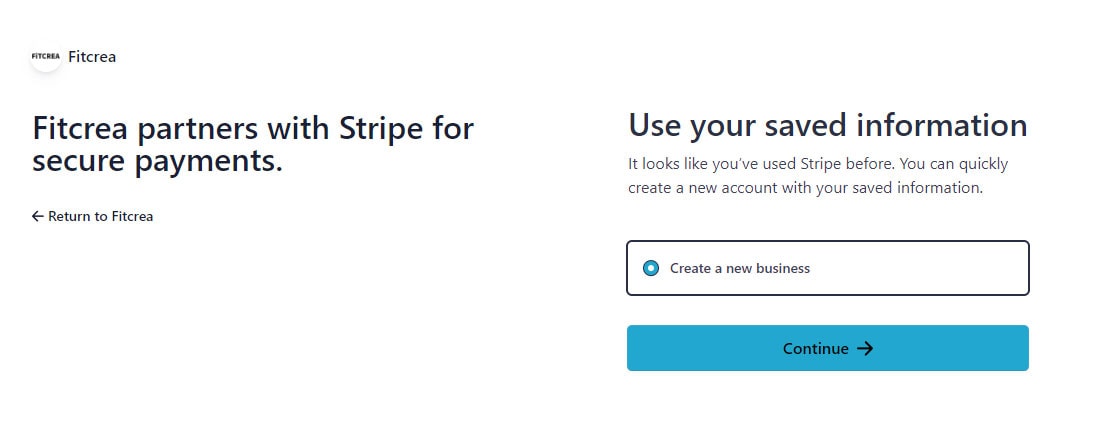
If you already have a Stripe account you can use existing information or you can create a new business.
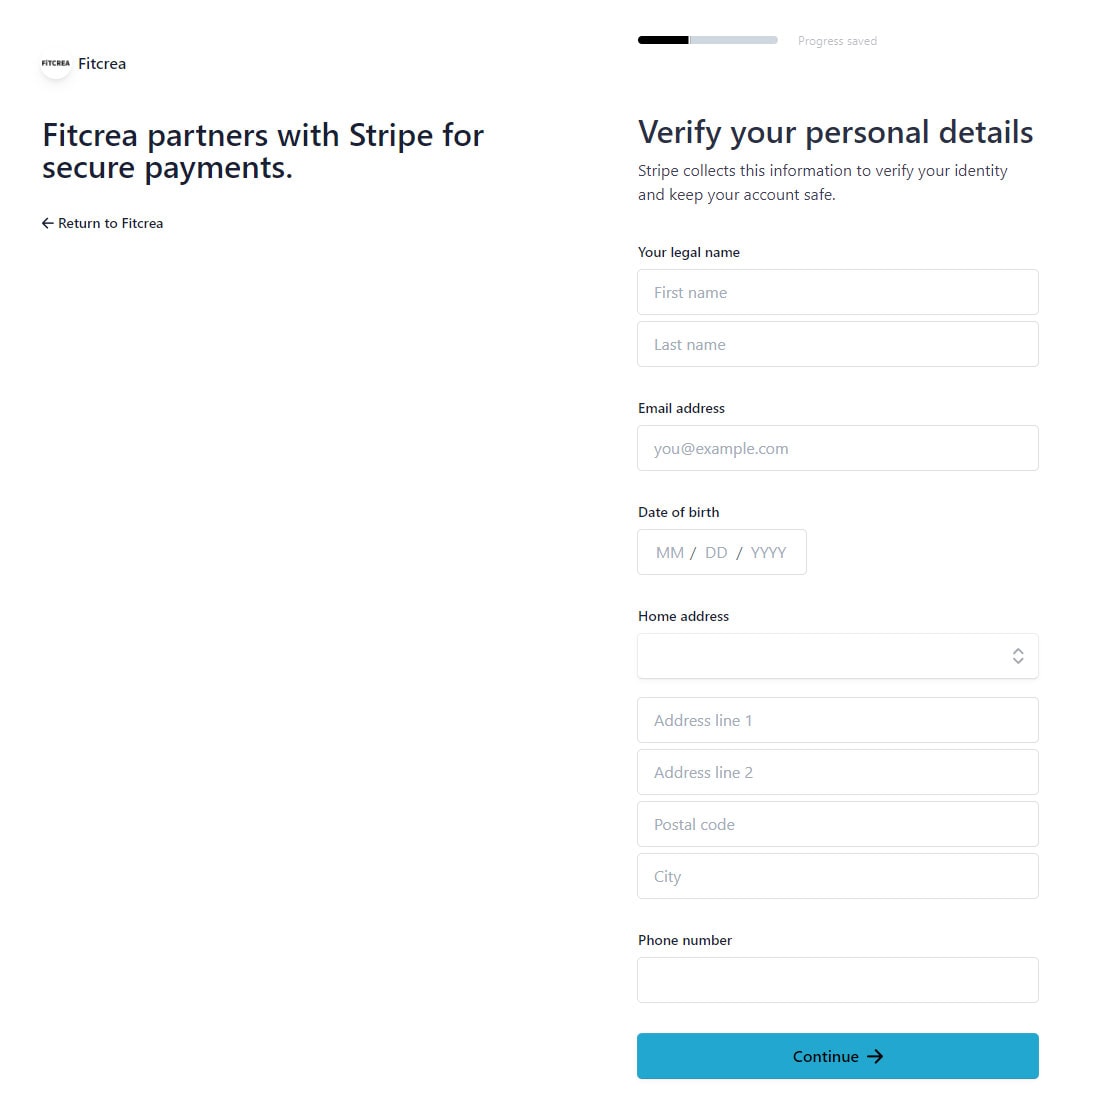
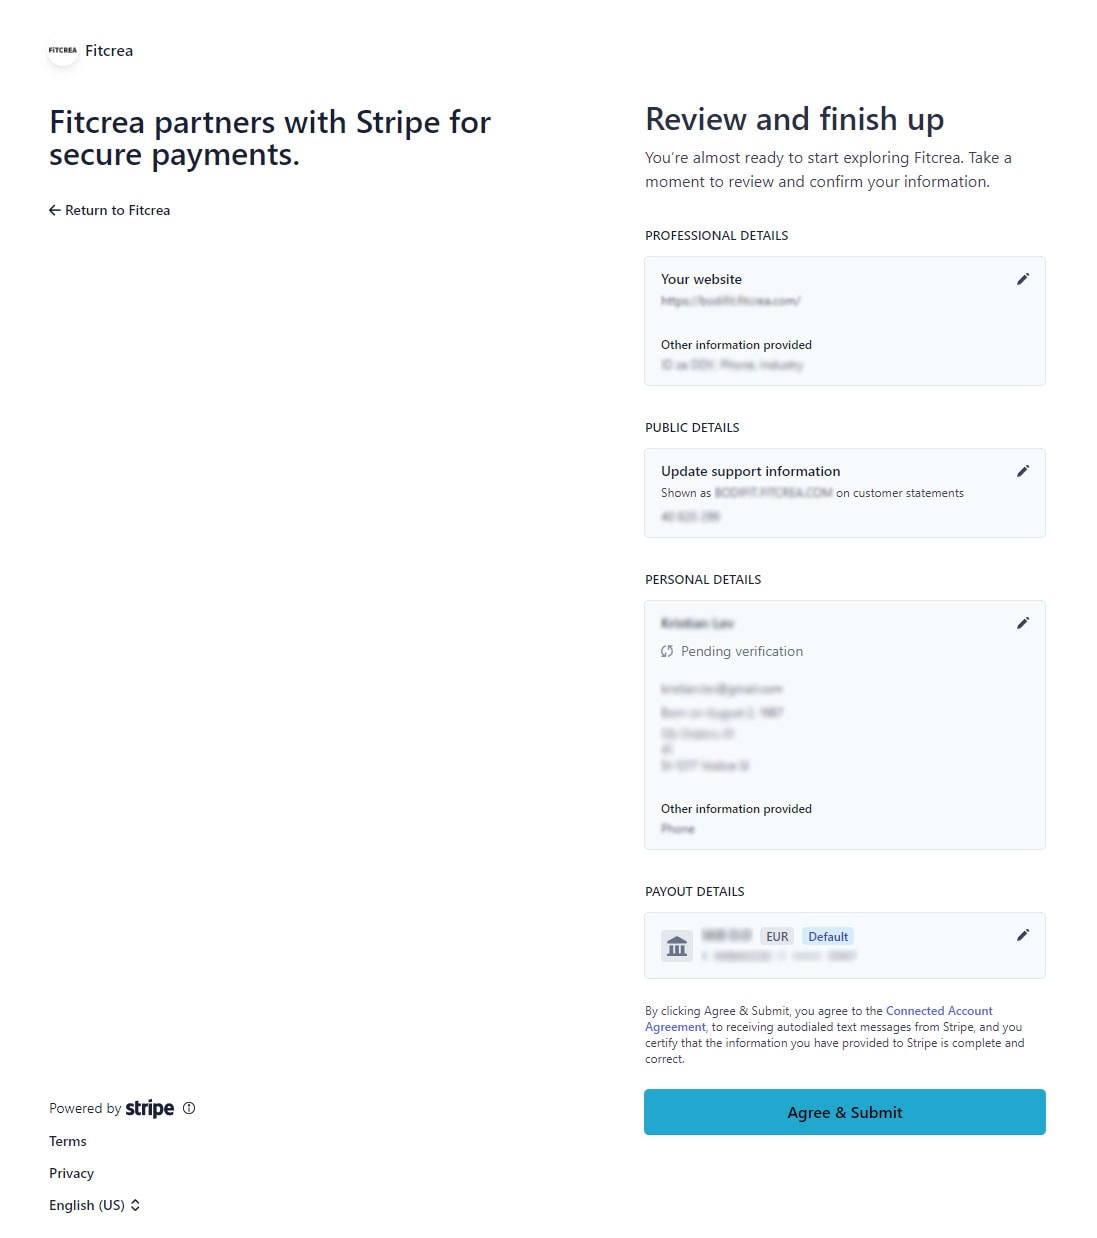
Fill out professional and personal details to set up the account.
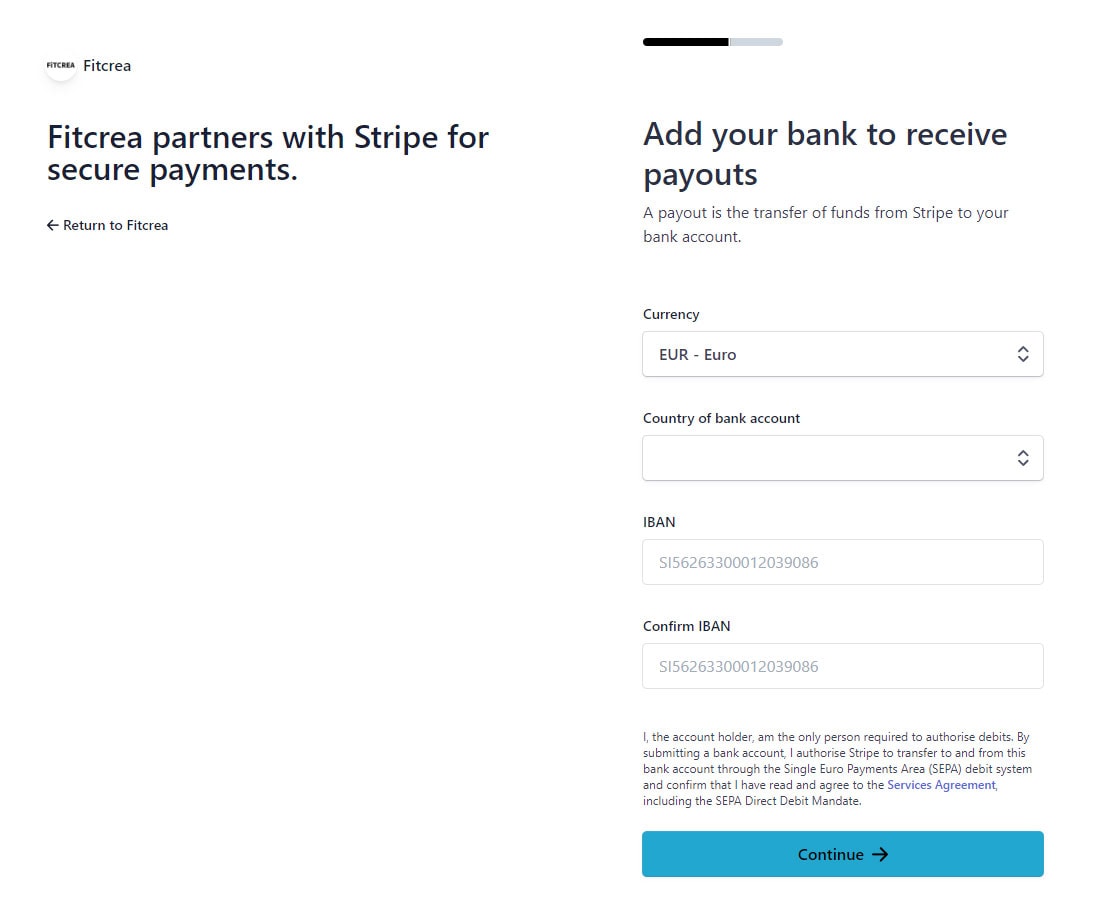
Add your bank details where you will receive your payments.
Review the filled-out information and finish setting up.
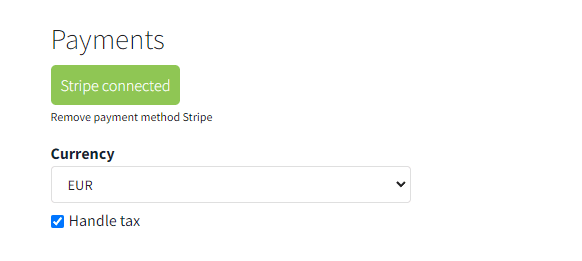
After submitting your details you will be taken back to Fitcrea app dashboard. When your Stripe account is connected you will see a green button Stripe connected.
Here you can quickly set the currency and Tax settings. To remove Stripe as a payment method click on Remove payment method Stripe and follow the steps.
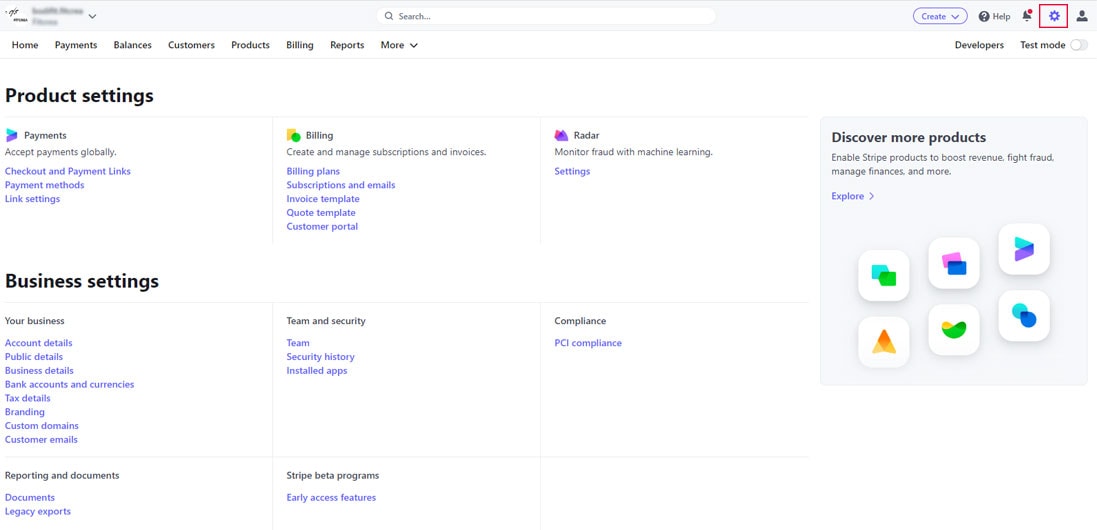
Step 2 – Customize your Stripe account
To customize your Stripe, go to Stripe dashboard > Settings: https://dashboard.stripe.com/settings
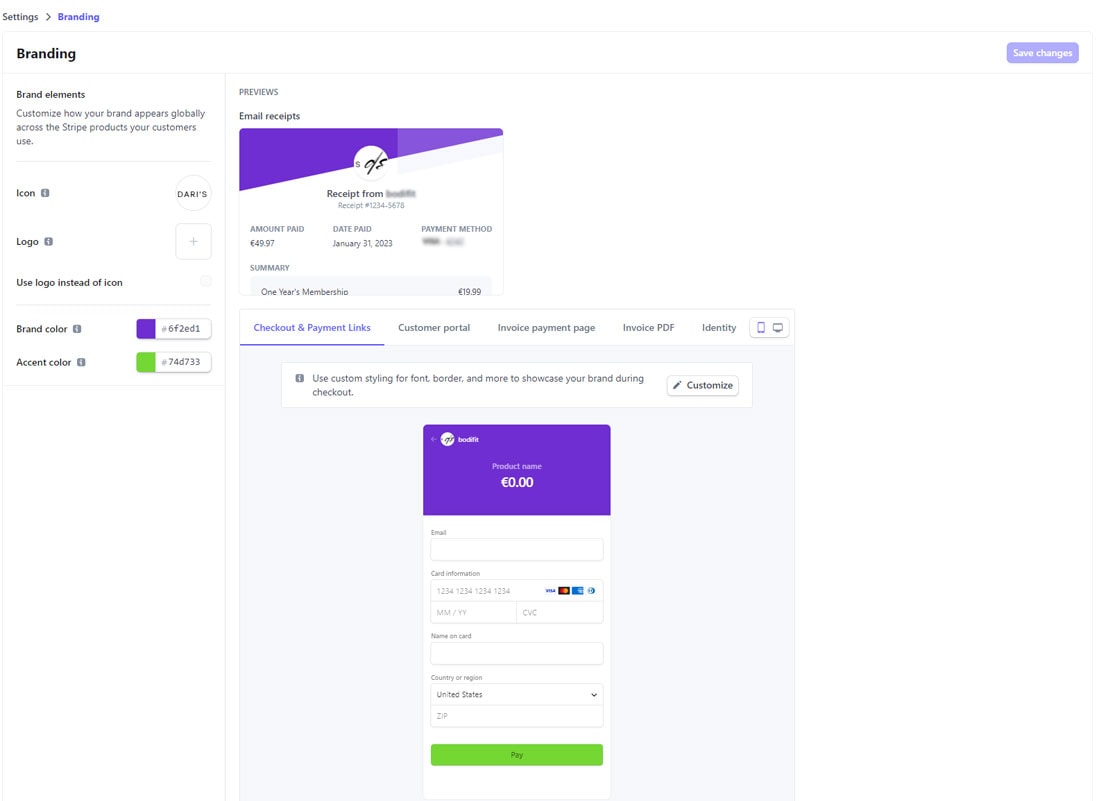
You can change the way your checkout looks by adding your logo and brand colors in Stripe > Settings > Business Settings > Branding: https://dashboard.stripe.com/settings/branding
Step 3 – Setting up Taxes
If you want Stripe to handle your Taxes, check the box in Fitcrea Handle Tax as shown in the image below.

Then go to Stripe dashboard > Settings > Tax: https://dashboard.stripe.com/settings/tax.
To correctly set up taxes, confirm the country of your business – Origin Address, and select your product tax category and tax threshold. You can read detailed instructions here: https://stripe.com/docs/tax/set-up.
Step 4 – Sending Invoices
To automatically send invoices after purchase, go to Stripe dashboard > Settings > Customer emails: https://dashboard.stripe.com/settings/emails. Under Email customers about toggle on Successful Stripe Checkout Payments as shown in the image below.

To manage automated emails about Invoices, go to Billing settings: https://dashboard.stripe.com/settings/billing/automatic.

 Začni zdaj